How to Prepare the Ground for Concrete Sidewalk Installation
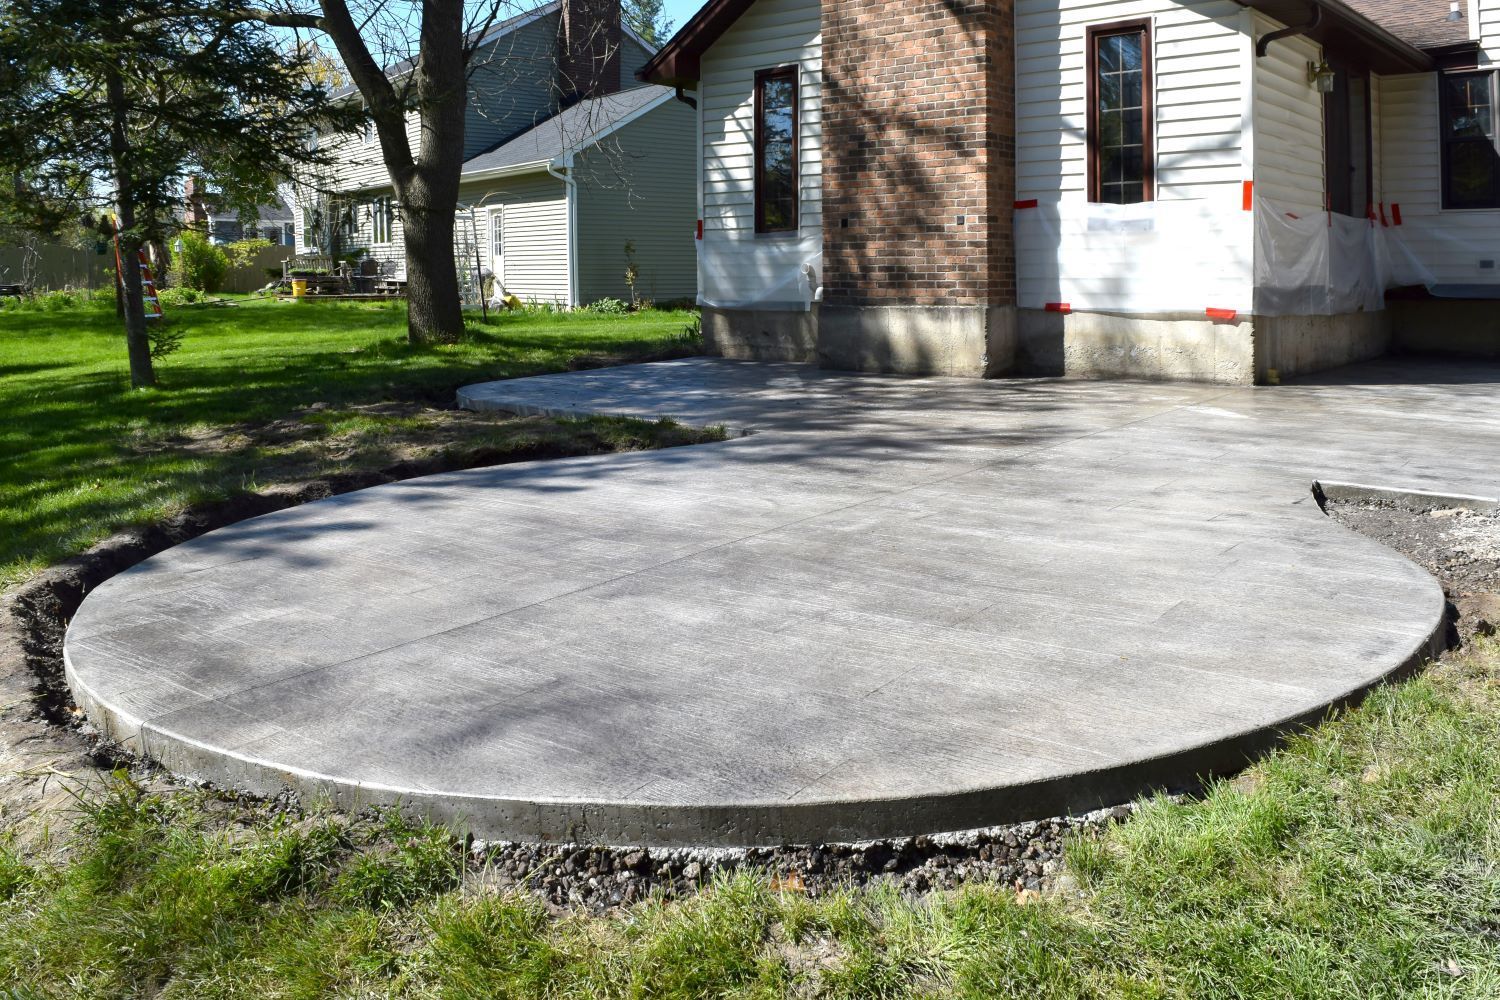
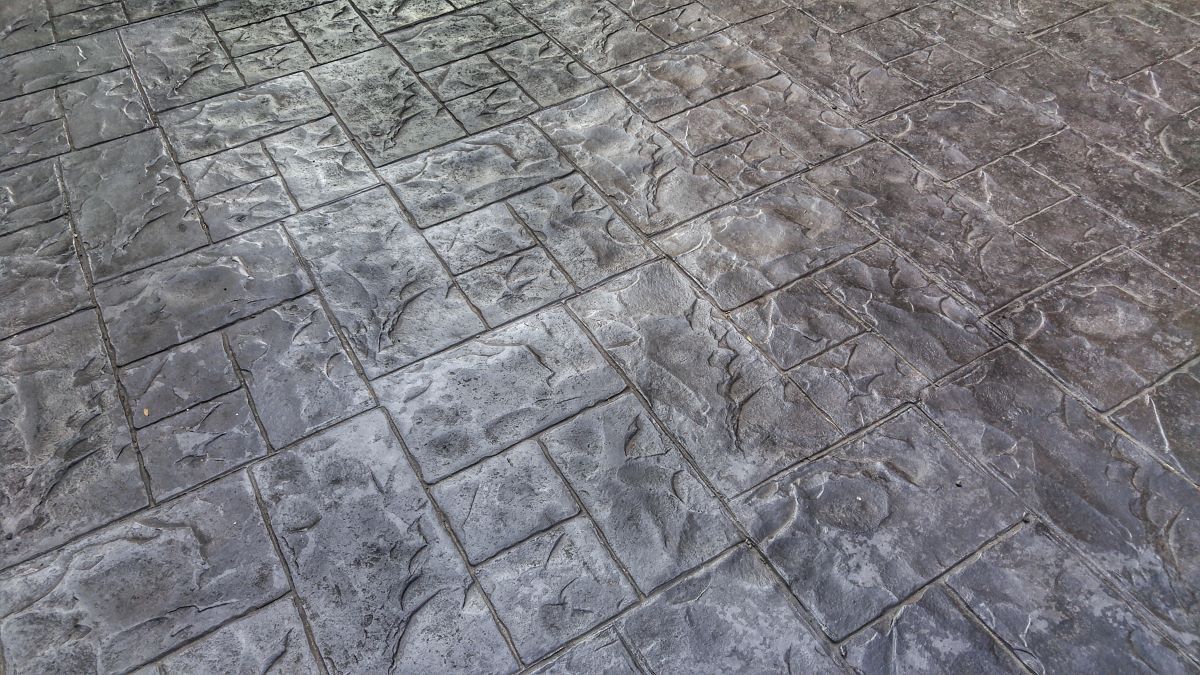
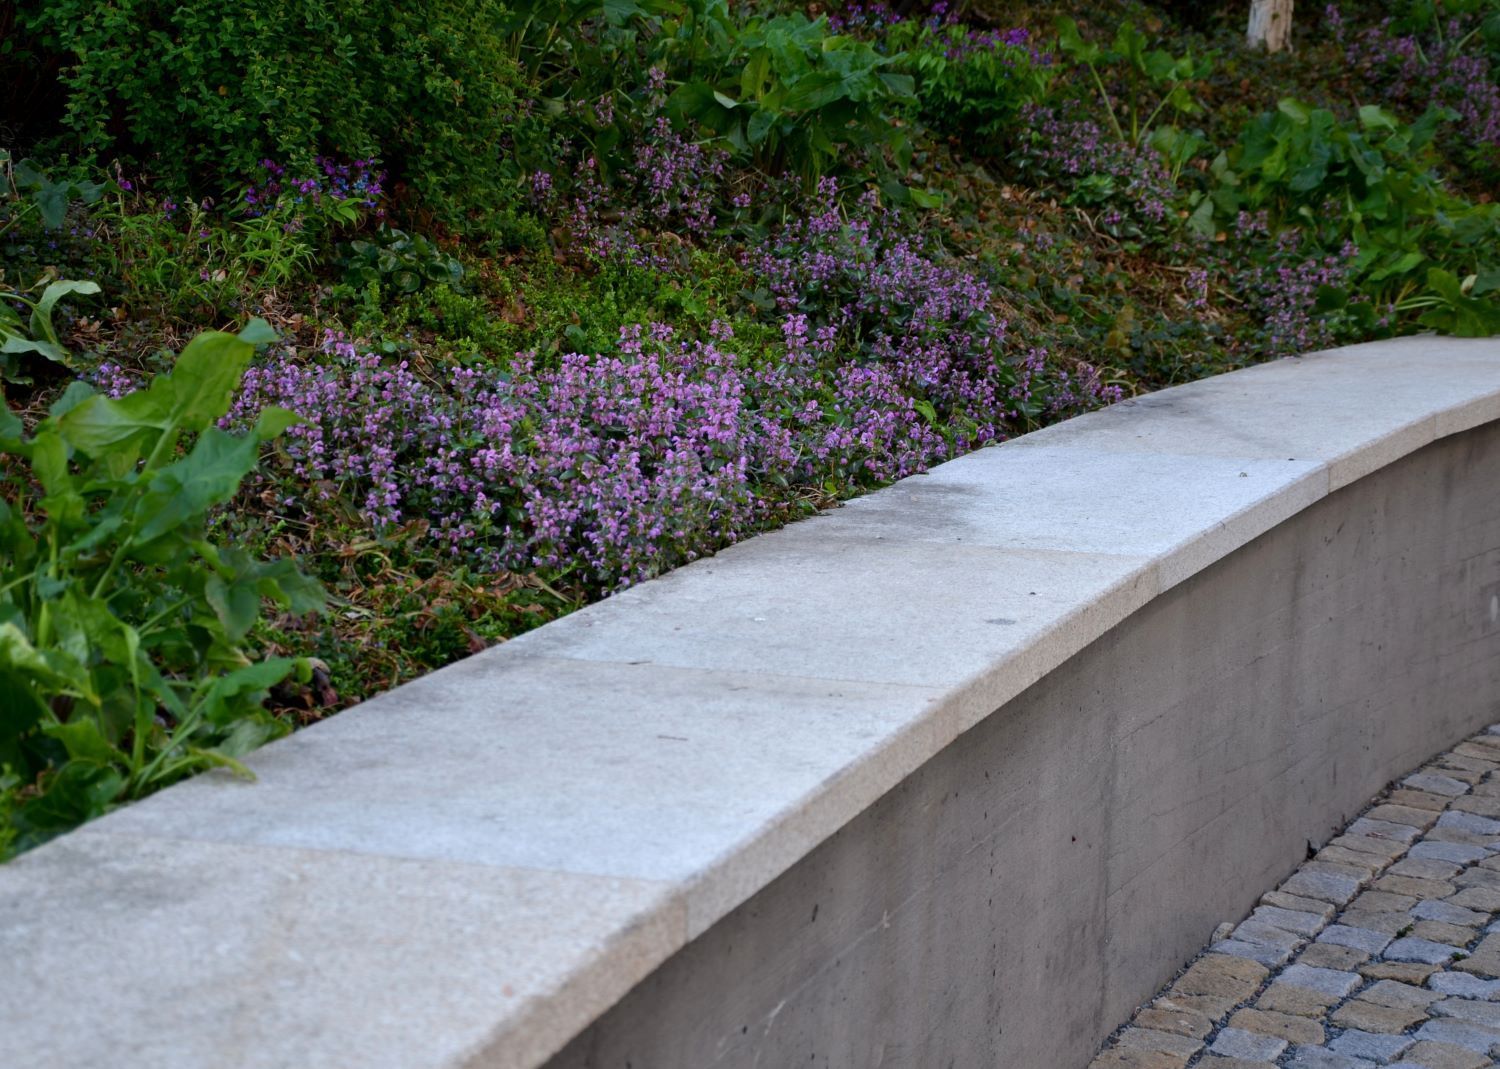
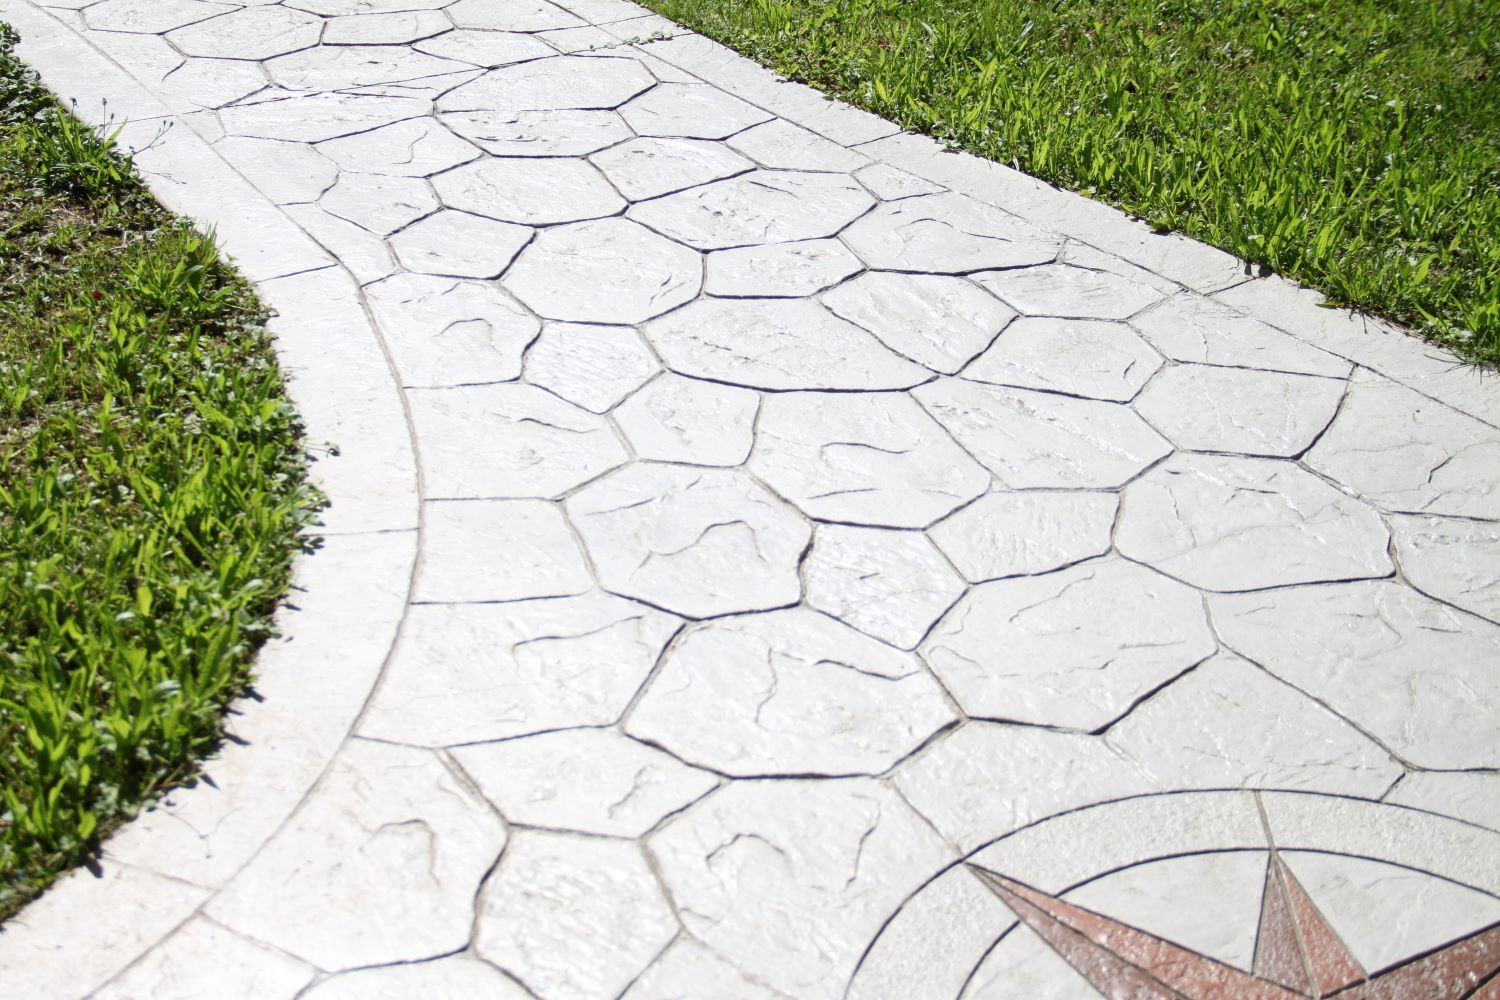
Concrete sidewalks are a practical and durable addition to any property. They provide a smooth, long-lasting surface that can withstand heavy foot traffic and harsh weather conditions, especially in climates like St. John's, Newfoundland. However, the key to a strong and lasting concrete sidewalk begins with proper ground preparation. Here’s what you need to know about preparing the ground for a concrete sidewalk installation.
1. Site Inspection and Planning
Before breaking ground, it's essential to assess the installation site. Consider factors such as the slope of the land, drainage requirements, and the soil type. These factors will influence how the ground needs to be prepared and will help avoid issues like water pooling or cracking.
Drainage: Proper drainage is critical for preventing water from accumulating on or around your sidewalk. Without adequate drainage, water can erode the soil beneath the concrete, causing it to crack and shift over time.
Soil Type: The type of soil will determine the amount of compaction required. Loamy or clay soils, common in Newfoundland, may need more intensive preparation compared to sandy soils.
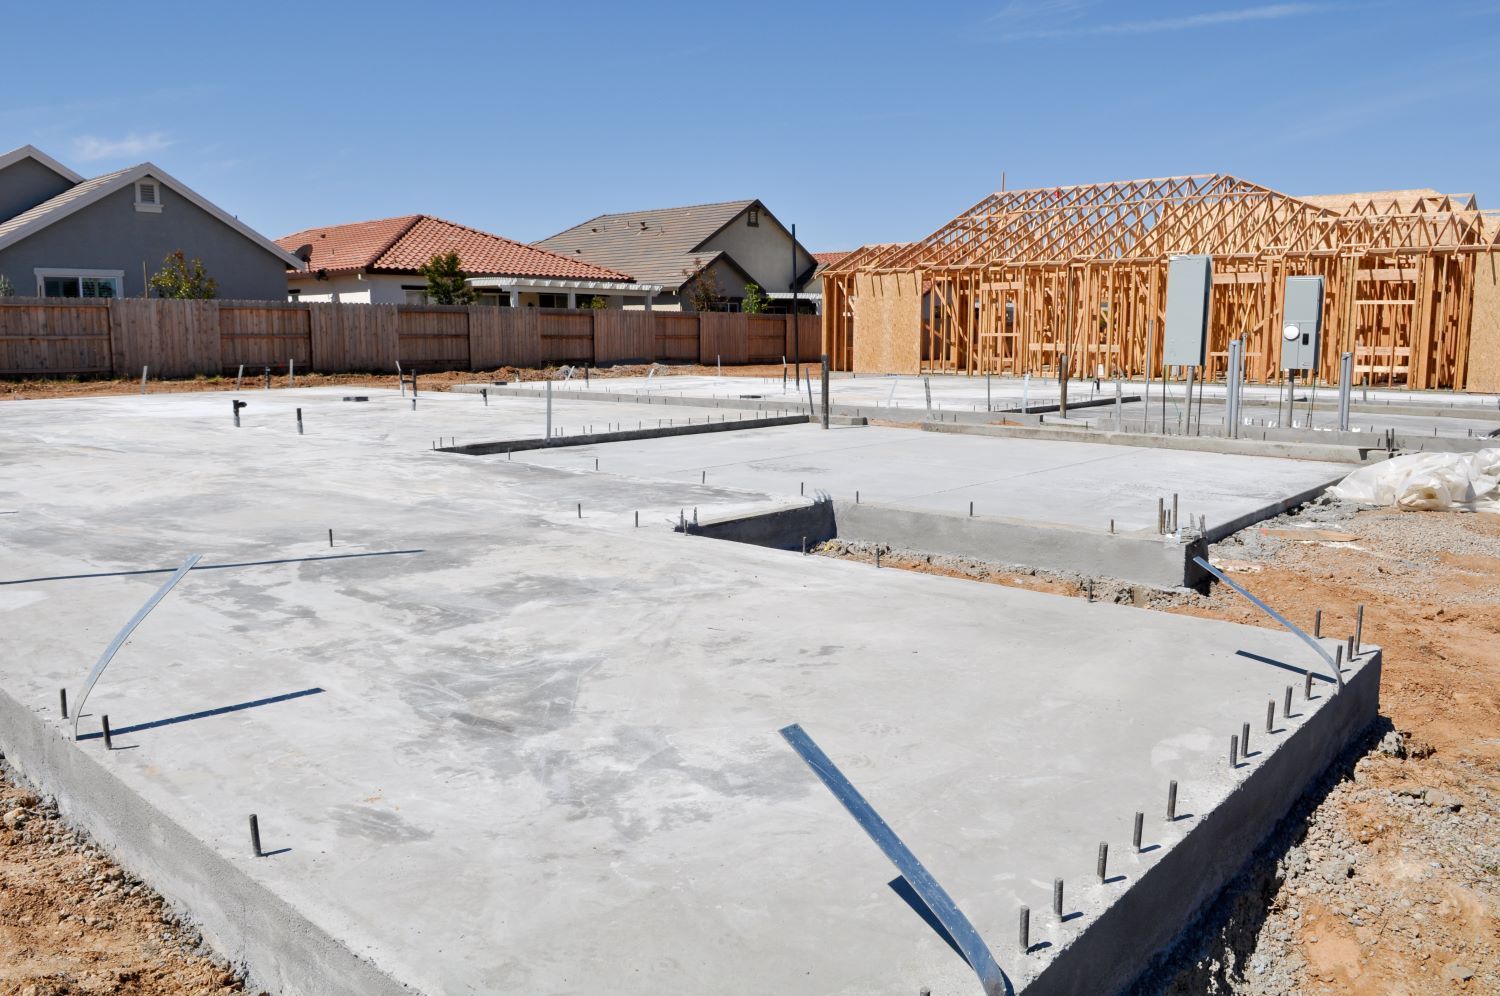
2. Clearing and Excavating the Area
Once the site is planned, the next step is clearing and excavating the area where the sidewalk will be installed.
- Clear the Area: Remove any grass, plants, roots, rocks, or debris from the installation area to ensure a clean surface for excavation.
- Excavate: Dig down to a depth of at least 6-8 inches, depending on the desired thickness of the concrete and the amount of base material needed. The depth also takes into account the space required for gravel or other base layers that help with drainage and stability.
For sidewalks in high-traffic areas or regions with frost, like St. John’s, you may need to excavate deeper to prevent heaving during the winter freeze-thaw cycle.
3. Establish the Sidewalk Grade
The next step is to create a slight slope or grade for the sidewalk to ensure proper water runoff. Typically, a 1-2% slope away from buildings or other structures is recommended to direct water away from foundations.
To achieve this, stakes and string can be used to outline the desired slope and sidewalk dimensions, allowing you to adjust the excavation accordingly.
4. Laying the Base Material
A well-prepared base is crucial for the longevity of your concrete sidewalk. After excavation, it's time to lay the base material:
- Gravel or Crushed Stone: A base layer of gravel or crushed stone, typically 4-6 inches thick, is laid to provide stability and enhance drainage. This layer helps distribute the weight of the concrete and prevents the sidewalk from shifting or sinking over time.
- Compaction: After laying the base material, it must be thoroughly compacted using a plate compactor or hand tamper. Proper compaction reduces the risk of air pockets or soil settlement, which can cause the concrete to crack.
5. Adding a Sand or Geotextile Layer (Optional)
Depending on the soil conditions, adding a thin layer of sand or geotextile fabric above the gravel base may be beneficial. The sand helps with leveling, while geotextile fabric adds an extra layer of stability by preventing the soil from mixing with the gravel base.
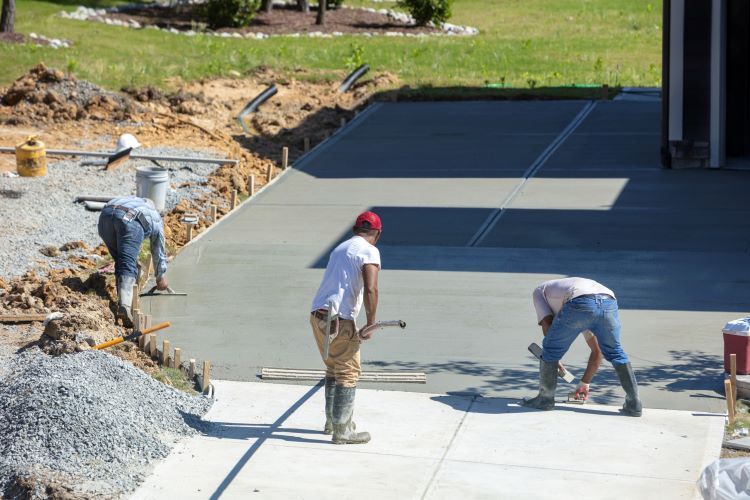
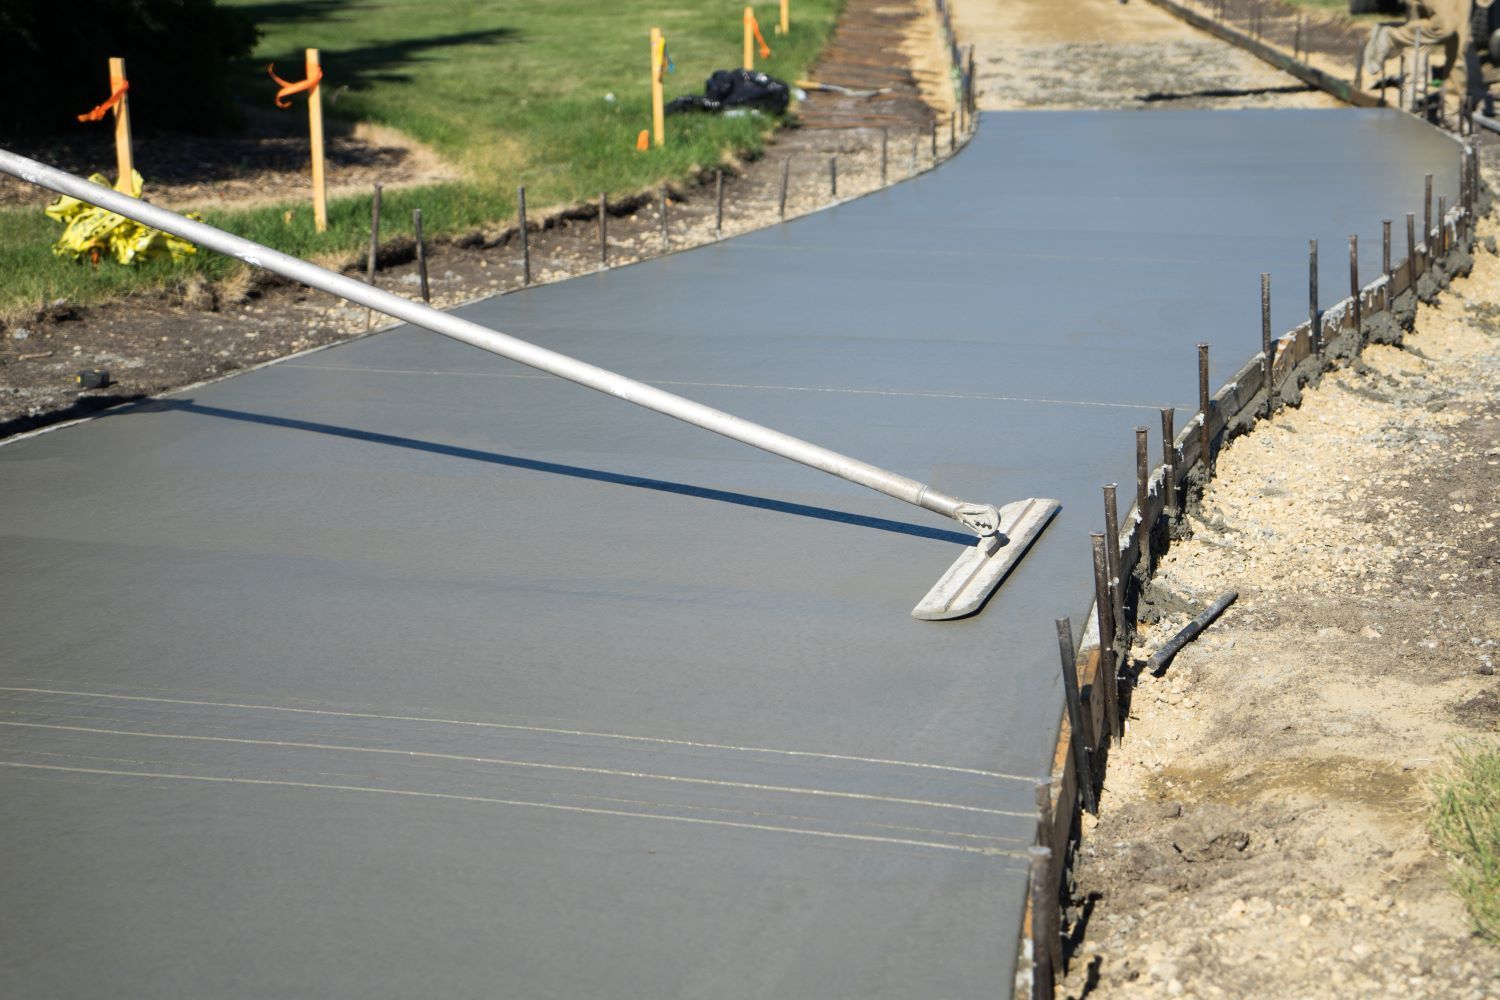
6. Setting Forms for the Sidewalk
With the ground fully prepared, it's time to set up forms to shape the sidewalk. Forms are typically made from wood or plastic and are placed along the edges of the excavation area.
- Measure and Level: Use stakes and a level to ensure the forms are set to the correct height and slope. Double-check all measurements to ensure the sidewalk will have consistent thickness and follow the planned path.
- Secure the Forms: Fasten the forms securely to prevent movement when the concrete is poured. Any movement can result in uneven edges or surface irregularities.
7. Final Compaction and Moisture Check
Before pouring the concrete, perform a final check on the ground preparation:
- Check for Moisture: The ground should be slightly damp but not wet. If the soil is too dry, it can draw moisture from the concrete too quickly, causing cracks. If the ground is too wet, the concrete may not cure properly.
- Final Compaction: Ensure the base material is fully compacted and level. Uneven compaction can lead to weak spots in the sidewalk.
8. Reinforcement (Optional)
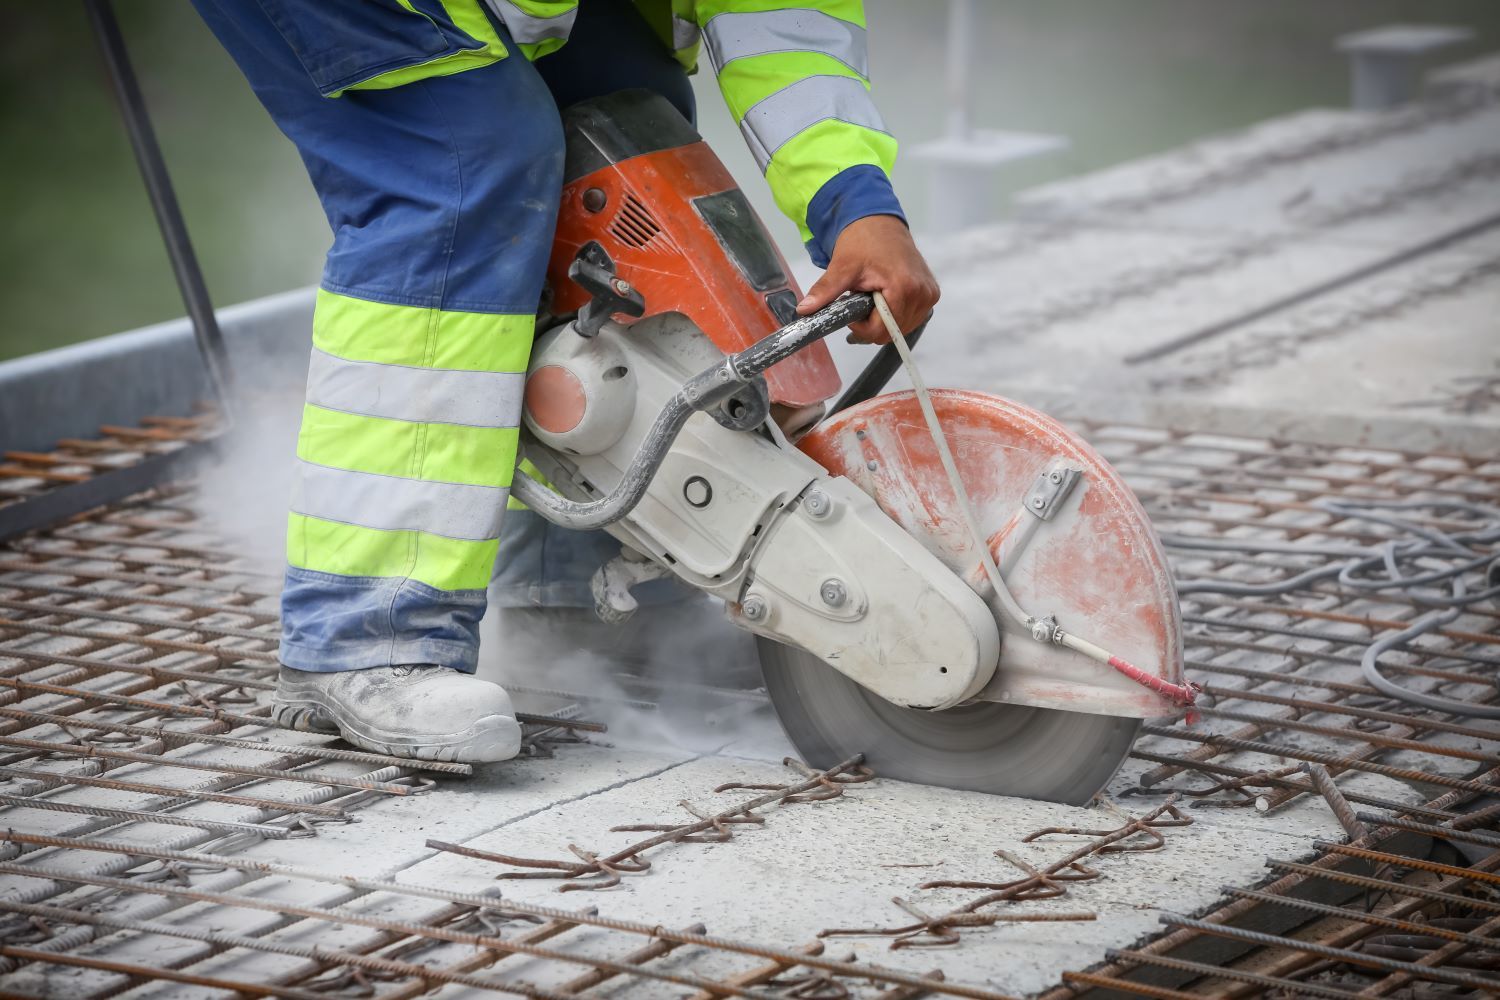
In areas with heavy traffic or extreme weather conditions, it may be necessary to reinforce the sidewalk with wire mesh or rebar before pouring the concrete. This adds extra strength and helps prevent cracking over time.
Conclusion
Proper ground preparation is the foundation for a durable, long-lasting concrete sidewalk. By taking the time to inspect the site, excavate correctly, and lay a stable base, you ensure your concrete sidewalk will withstand the elements and provide years of reliable service. Whether you're upgrading your home or improving public walkways, Concrete Contractors St. Johns can help you achieve a flawless installation that stands the test of time.
For more information or to schedule a consultation, contact our team today!