How to Repair Concrete Surfaces for a Like-New Finish
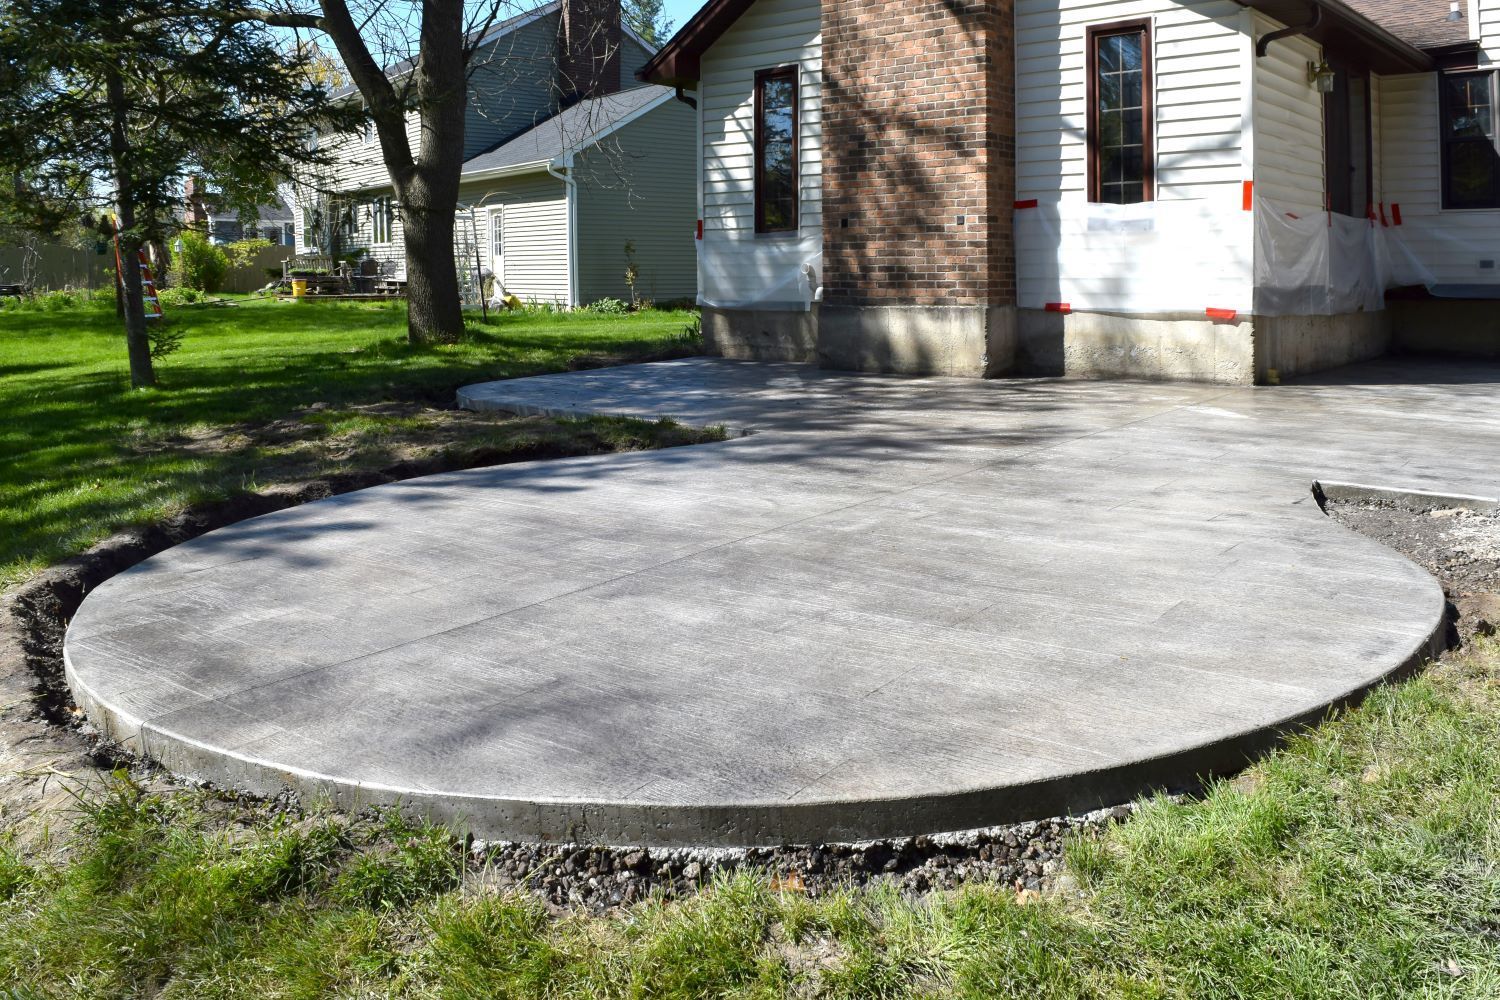
Concrete is a durable and long-lasting material, but over time, it can show signs of wear and tear. Whether it's a small crack in your driveway or surface spalling on your patio, repairing these issues is essential to maintain the appearance and functionality of your concrete surfaces. Here’s a guide on how to repair concrete surfaces to achieve a like-new finish.
1. Identify the Problem
Before starting any repair work, it's important to assess the damage. Common issues with concrete surfaces include:
- Cracks: These can be caused by settling, freeze-thaw cycles, or heavy loads.
- Spalling: This is when the surface layer of the concrete begins to flake off, often due to water infiltration.
- Pitting: Small, shallow holes in the concrete, usually caused by salt exposure or freeze-thaw cycles.
- Discoloration: Stains and color fading can occur due to weathering, chemical exposure, or improper installation.
Understanding the specific issue will help you choose the right repair method.
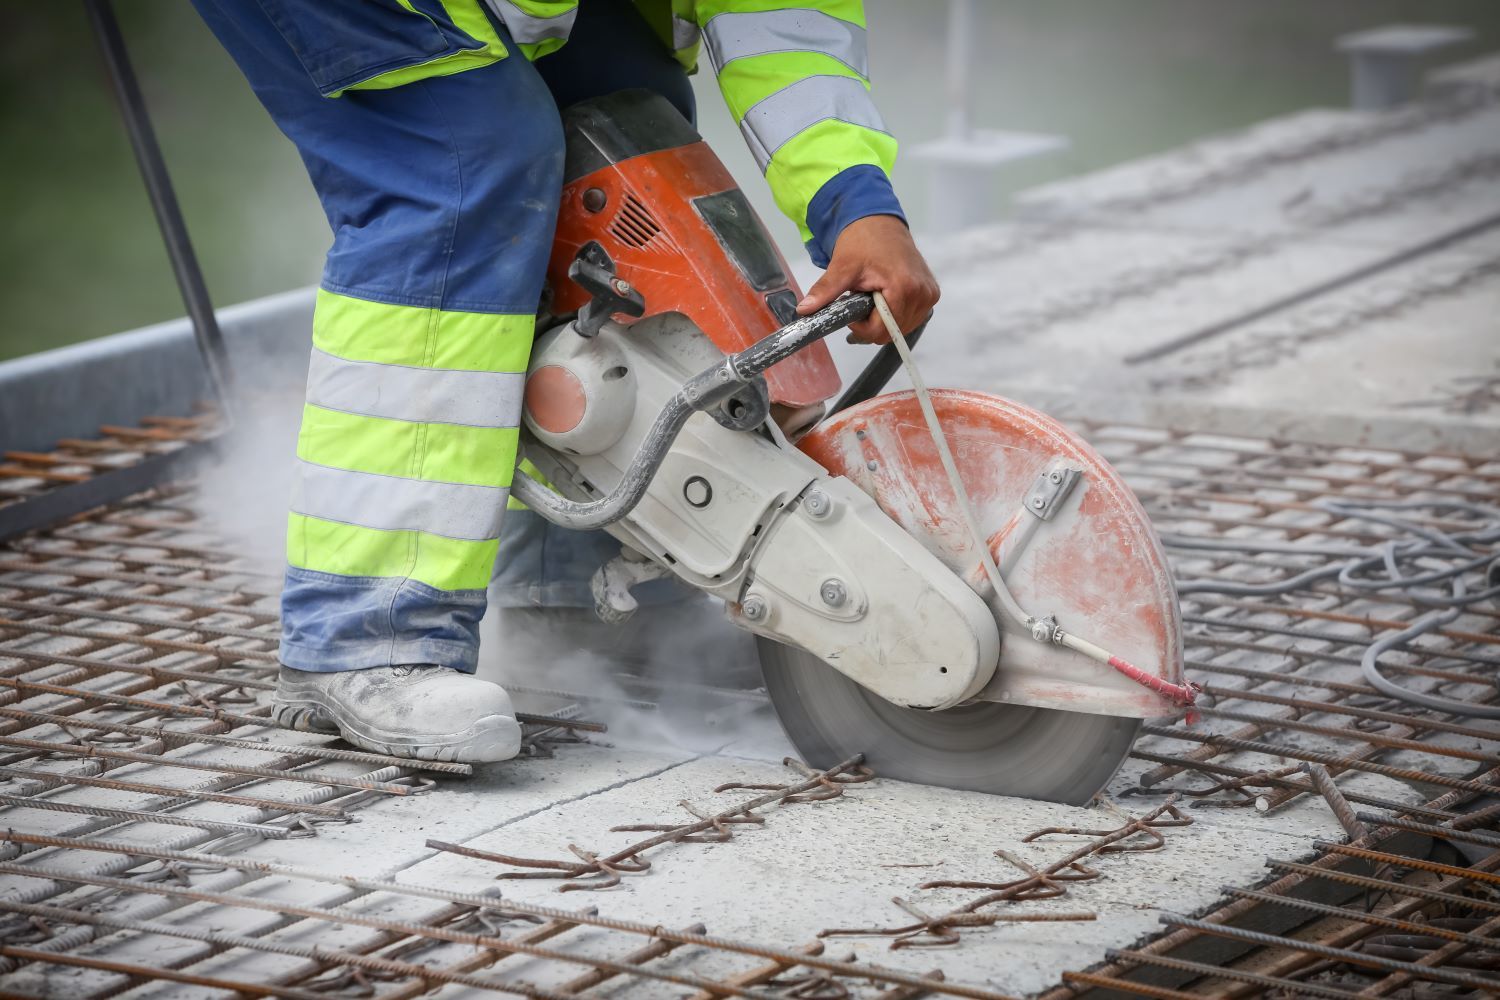
2. Clean the Surface
The key to a successful concrete repair is a clean surface. Remove any dirt, debris, grease, or loose concrete from the damaged area. For cracks, use a wire brush or a pressure washer to clean out the crack. For larger areas, a concrete cleaner or degreaser may be necessary. Ensuring the surface is clean will help the repair material bond effectively.
3. Choose the Right Repair Material
Different types of damage require different repair materials:
- Concrete Patching Compound: Ideal for small cracks and spalls.
- Epoxy Concrete Repair: Perfect for larger cracks and structural repairs.
- Concrete Resurfacer: Used for larger areas of surface damage to create a uniform finish.
Select a material that is compatible with the existing concrete to ensure a seamless repair.
4. Apply the Repair Material
Once the surface is prepared, it’s time to apply the repair material:
- For Cracks: Use a concrete crack filler or epoxy repair product. Inject the material into the crack, making sure it fills the entire space. Use a putty knife to smooth the surface.
- For Spalling: Apply a concrete patching compound to the affected area. Use a trowel to spread the compound evenly, and smooth the surface to match the surrounding concrete.
- For Pitting: Fill the pits with a concrete patching compound, and smooth with a trowel.
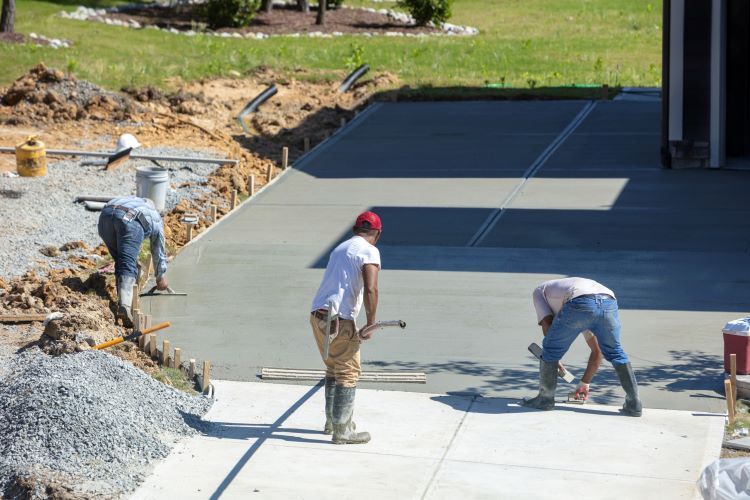
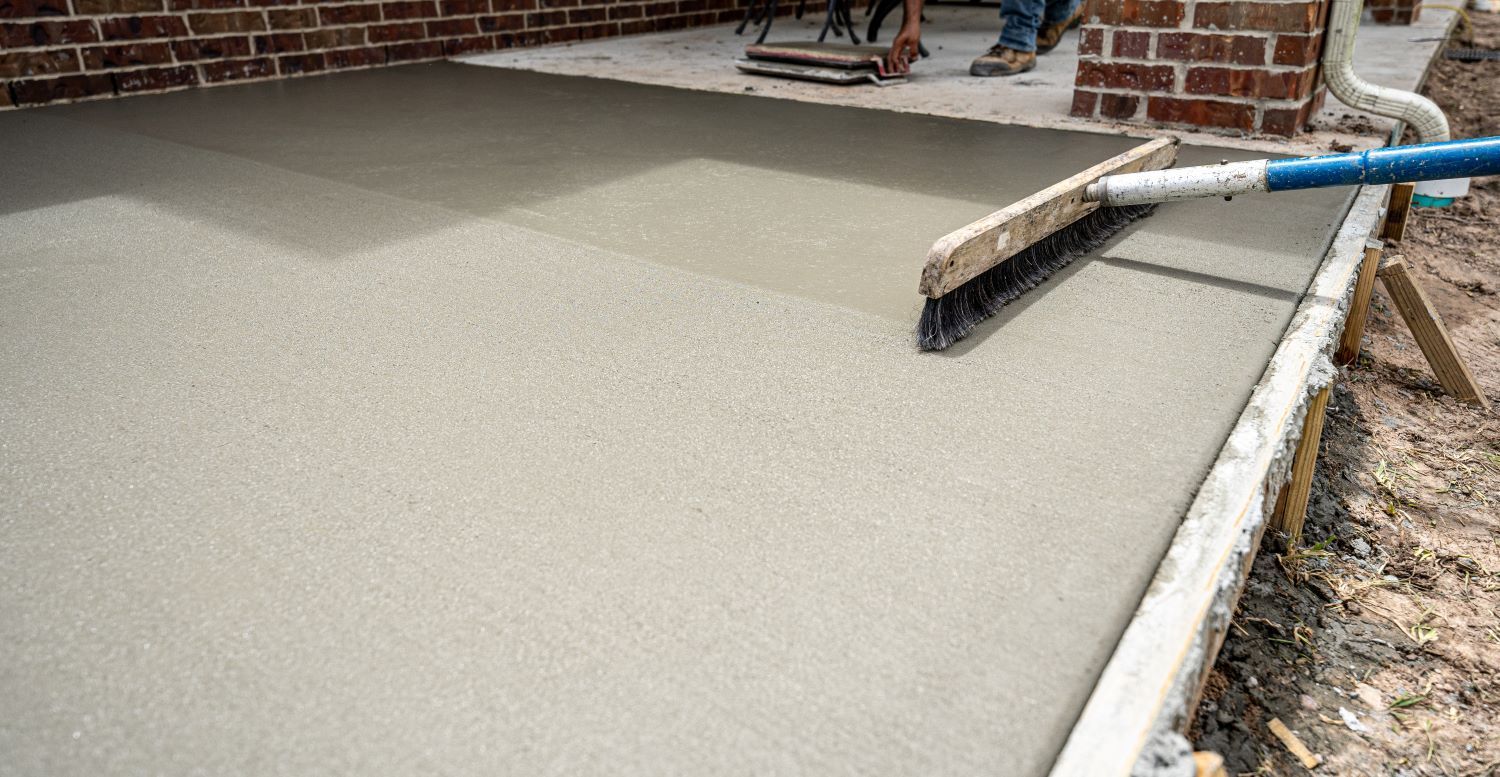
For large areas, such as resurfacing a driveway, mix the concrete resurfacer according to the manufacturer’s instructions. Pour it onto the surface and spread it evenly using a squeegee or trowel.
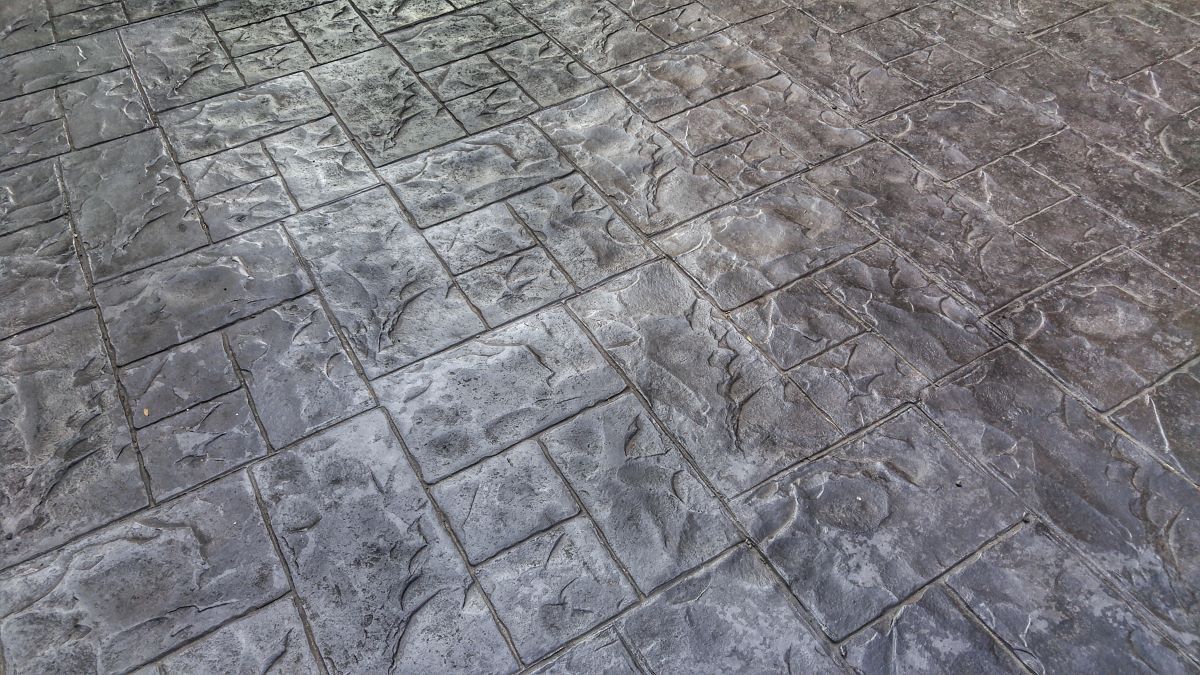
5. Finish and Seal
After the repair material has been applied, allow it to cure according to the manufacturer's instructions. Curing times can vary, so it’s important to be patient. Once the material has cured, consider applying a concrete sealer. Sealing the surface will protect it from future damage caused by moisture, chemicals, and weathering, prolonging the life of the repair.
6. Regular Maintenance
To keep your concrete surfaces looking like new, regular maintenance is essential. Sweep away debris, clean stains promptly, and reapply sealer as needed. Regular inspections can help you catch and repair minor issues before they become major problems.
Conclusion
Concrete repair doesn’t have to be a daunting task. By identifying the problem, choosing the right materials, and following proper techniques, you can restore your concrete surfaces to their former glory. Whether it’s your driveway, patio, or sidewalk, maintaining your concrete surfaces will ensure they remain functional and visually appealing for years to come.
For professional concrete repair services in St. John's, Newfoundland, trust the experts at Concrete Contractors St. Johns. We have the knowledge and experience to handle all your concrete repair needs, ensuring a high-quality finish every time.
Contact us today to learn more!