Tips for Successfully Pouring a Concrete Patio
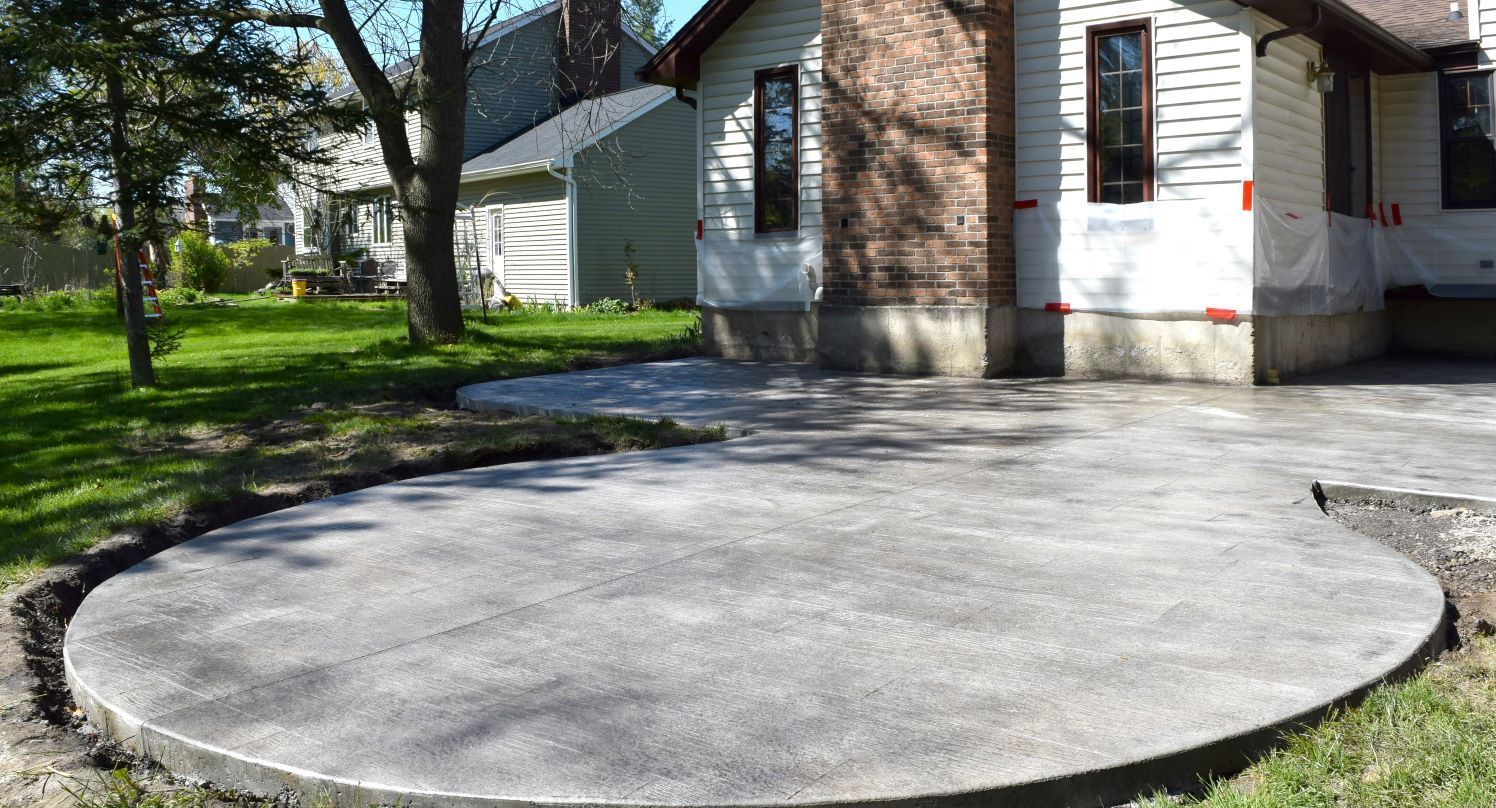
Creating a concrete patio is an excellent way to enhance your outdoor living space, offering durability, versatility, and a sleek, modern appearance. However, pouring a concrete patio requires careful planning and execution to ensure a successful and long-lasting result. At Concrete Contractors St. Johns, we’ve helped countless homeowners in St. John’s, Newfoundland, achieve beautiful and functional patios. Here are some essential tips to help you successfully pour a concrete patio.
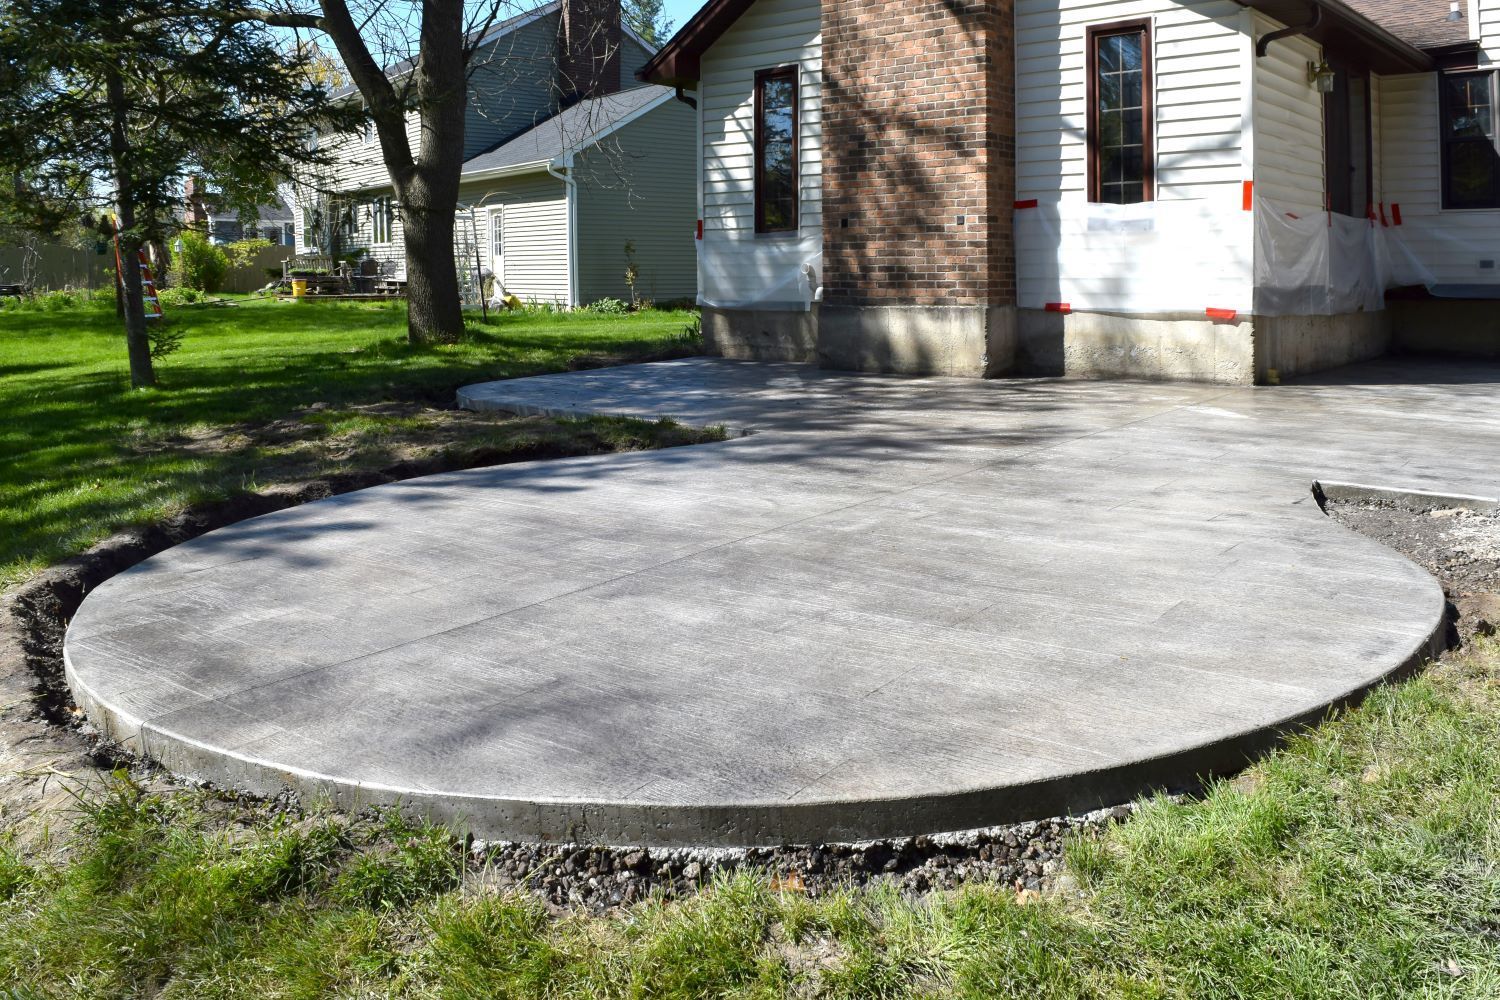
1. Plan and Design Your Patio Carefully
Before you start pouring concrete, it’s crucial to plan and design your patio. Consider the size, shape, and location of your patio in relation to your home and landscape. Ensure that the patio design complements your home’s architecture and meets your functional needs.
In the planning stage, you should also consider drainage. Proper drainage is vital to prevent water from pooling on your patio or near your home’s foundation. Sloping the patio away from the house at a slight angle (typically 1/8 inch per foot) will help direct water away, reducing the risk of water damage.
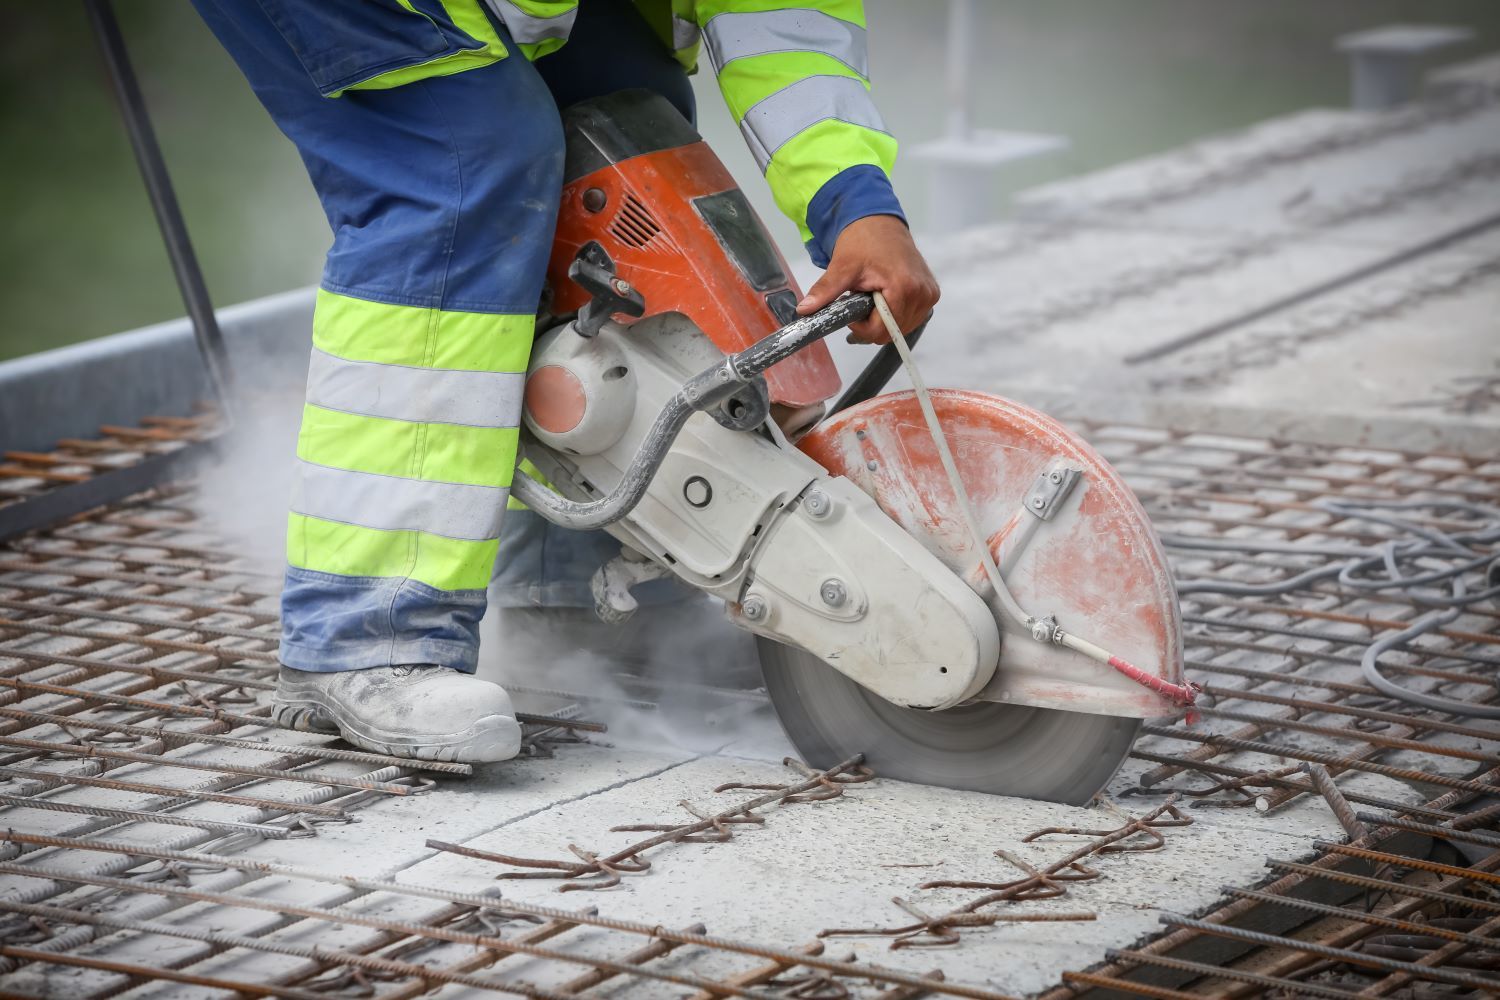
2. Prepare the Site Properly
Proper site preparation is key to a successful concrete pour. Start by marking the perimeter of your patio using stakes and string. Excavate the area to a depth of about 6-8 inches to make room for the concrete slab and a gravel base. Remove any grass, roots, rocks, or debris to ensure a clean, stable surface.
Next, install a gravel base (typically 4 inches thick) to provide a stable foundation for the concrete. Compact the gravel thoroughly using a plate compactor to prevent the concrete from settling or cracking over time.
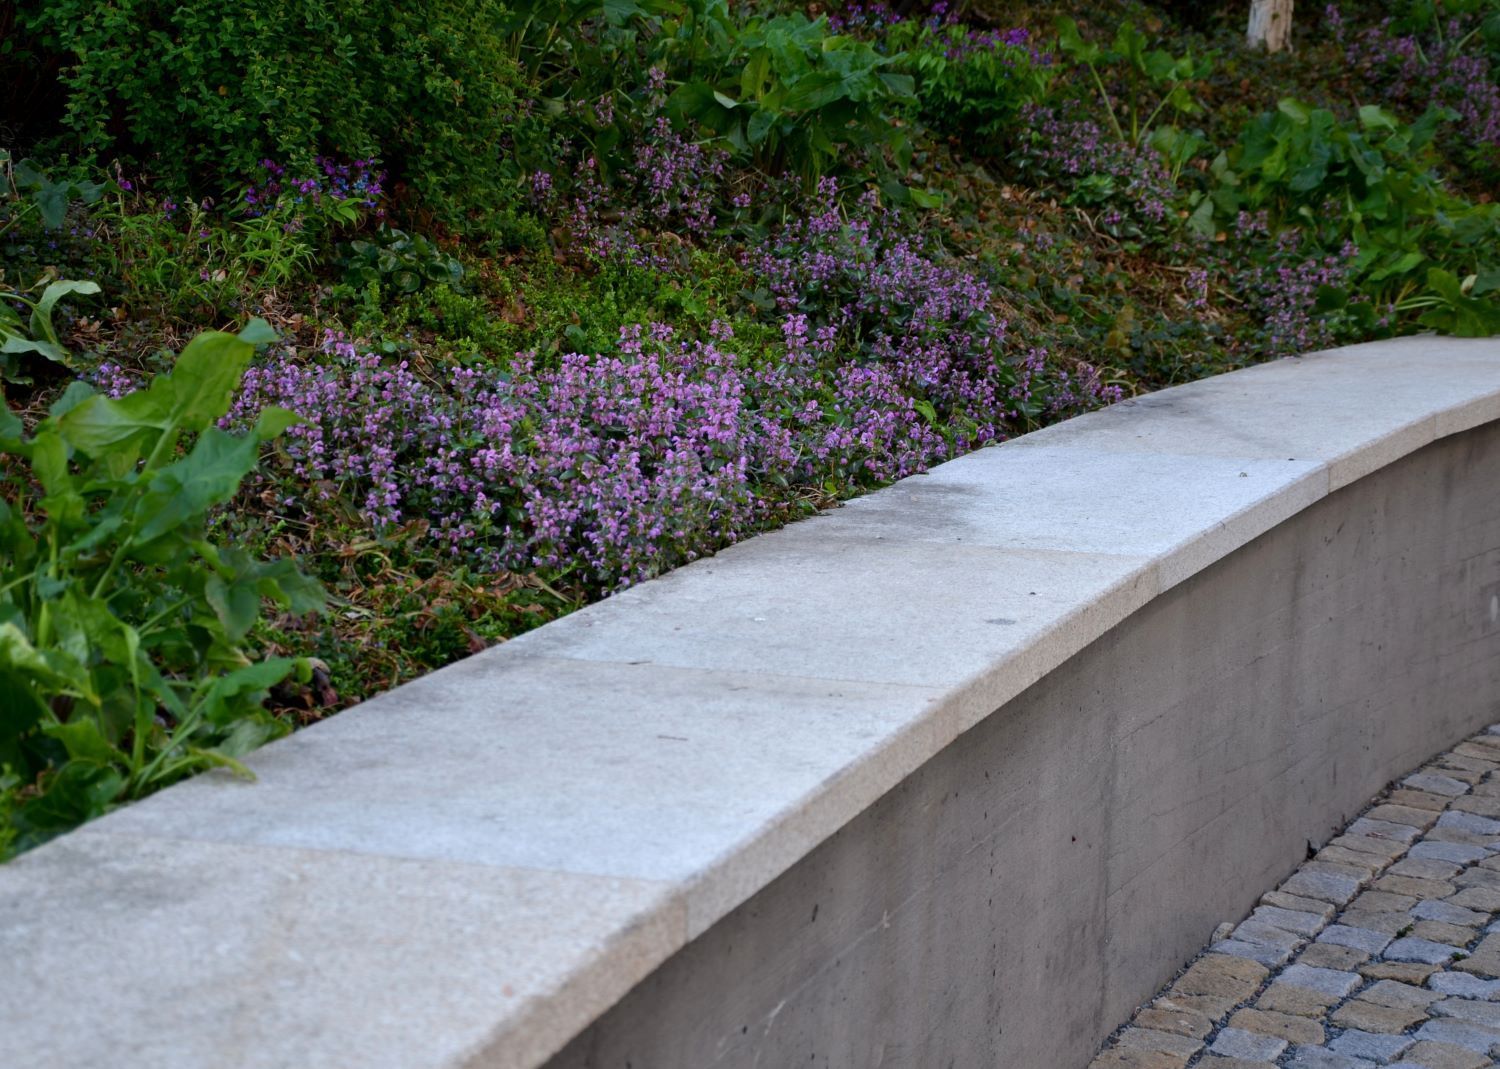
3. Build a Sturdy Form
A well-built form is essential for shaping and containing the concrete while it cures. Use wooden boards (2x4s or 2x6s) to create the form around the perimeter of your patio. Secure the boards with stakes and ensure that the form is level and square. The top edge of the form should be at the desired height of the finished patio surface.
To prevent the concrete from sticking to the form, apply a light coating of vegetable oil or a commercial form-release agent to the inside surfaces of the boards.
4. Use the Right Concrete Mix
Choosing the right concrete mix is crucial for the success of your patio. For most patios, a standard concrete mix with a strength of 3,000 to 4,000 psi is sufficient. However, if your patio will be subjected to heavy loads or harsh weather conditions, you may need a stronger mix.
When mixing the concrete, follow the manufacturer’s instructions carefully. Aim for a consistency that’s thick but still pourable, similar to oatmeal. If the mix is too dry, it will be difficult to work with and may not cure properly. If it’s too wet, it could weaken the final product.
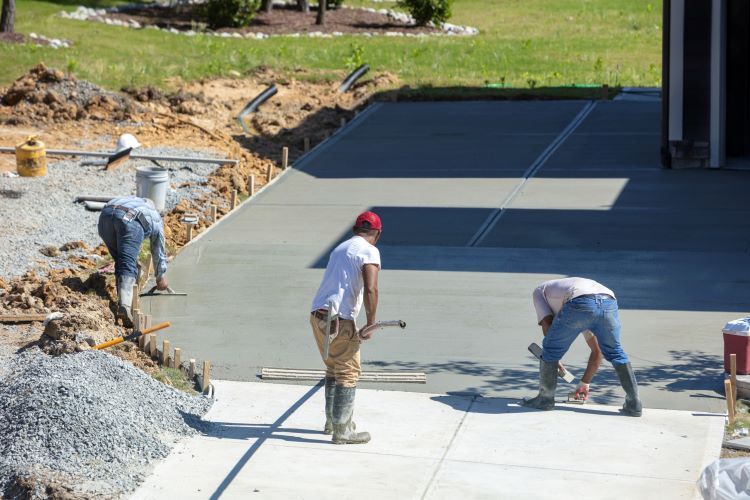
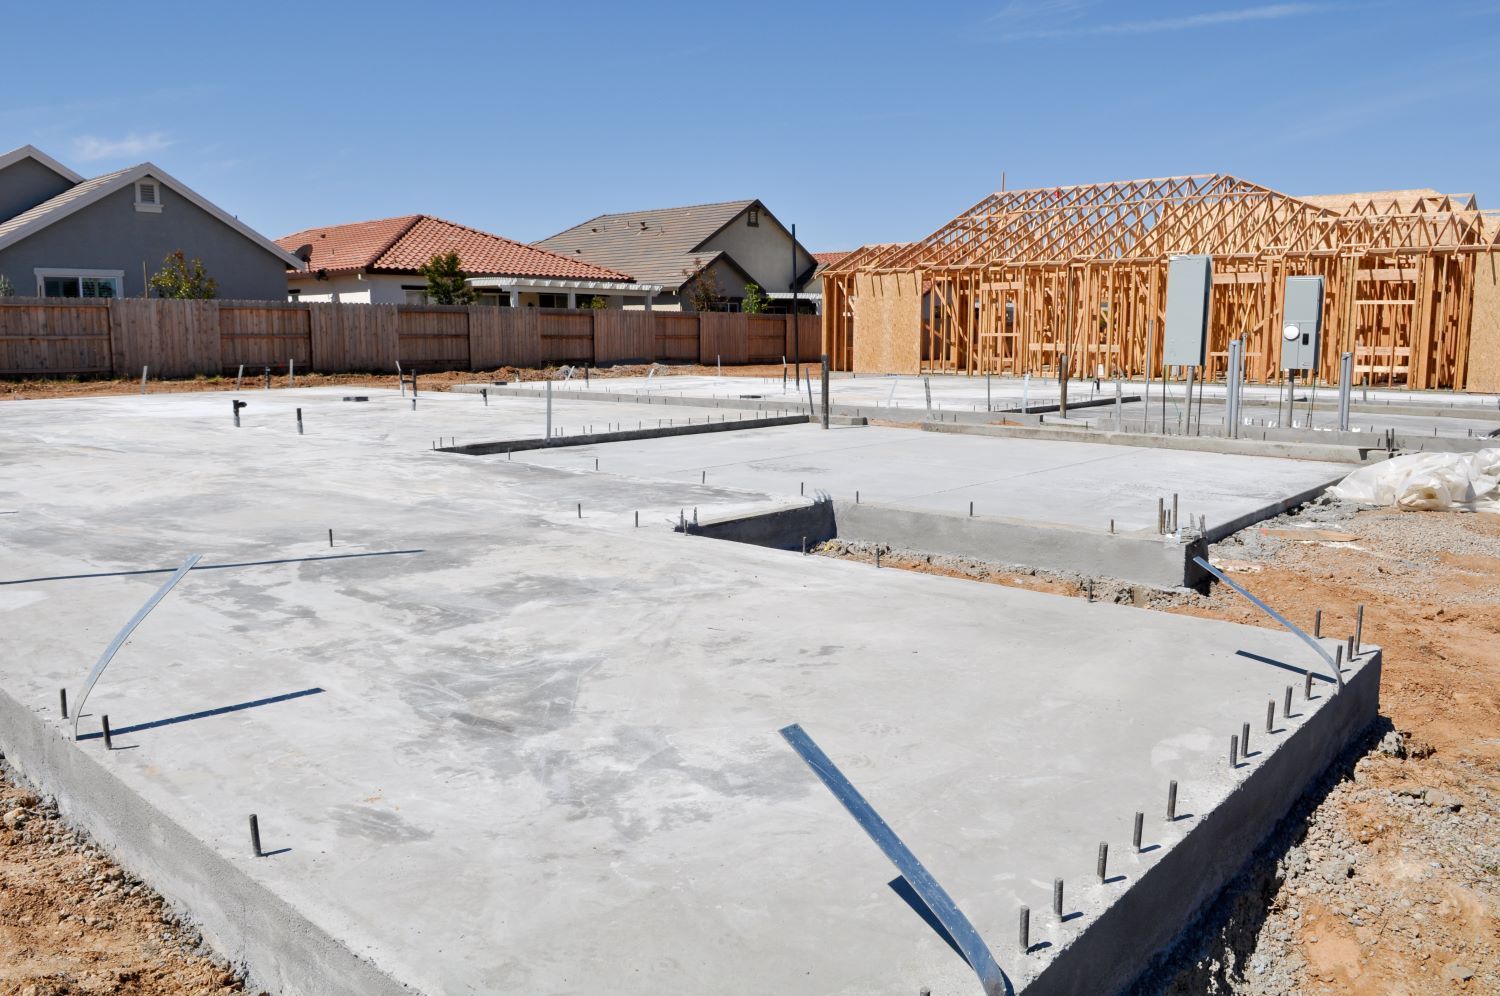
5. Pour and Spread the Concrete Evenly
Once your site is prepared and your form is in place, it’s time to pour the concrete. Start at one corner of the form and work your way across, pouring the concrete evenly into the form. Use a shovel or a rake to spread the concrete, making sure it fills the form completely and reaches all corners.
As you pour, use a screed board (a long, straight board) to level the surface of the concrete. Drag the screed across the top of the form in a sawing motion to remove excess concrete and create a smooth, even surface.
6. Finish the Surface
After leveling the concrete, it’s time to finish the surface. Start by using a bull float to smooth the surface and bring the cream (the fine particles and water) to the top. This will create a smooth, even surface that’s ready for finishing.
Next, use an edging tool to create clean, rounded edges around the perimeter of the patio. This will not only give your patio a professional appearance but also help prevent the edges from chipping over time.
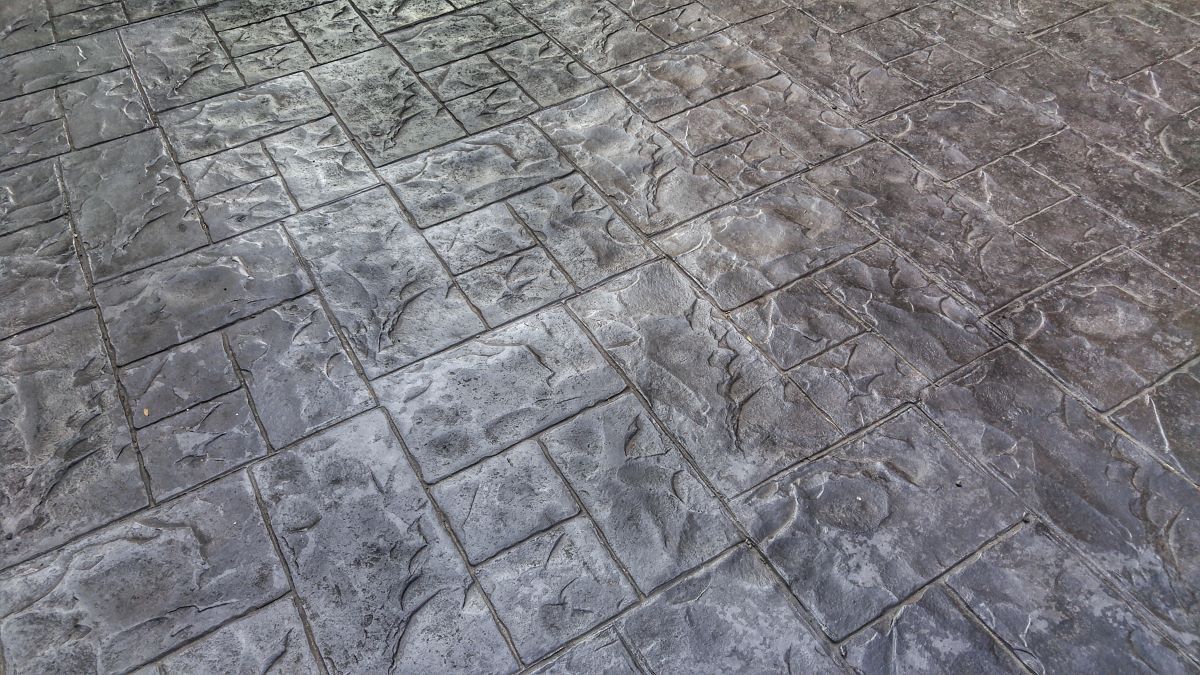
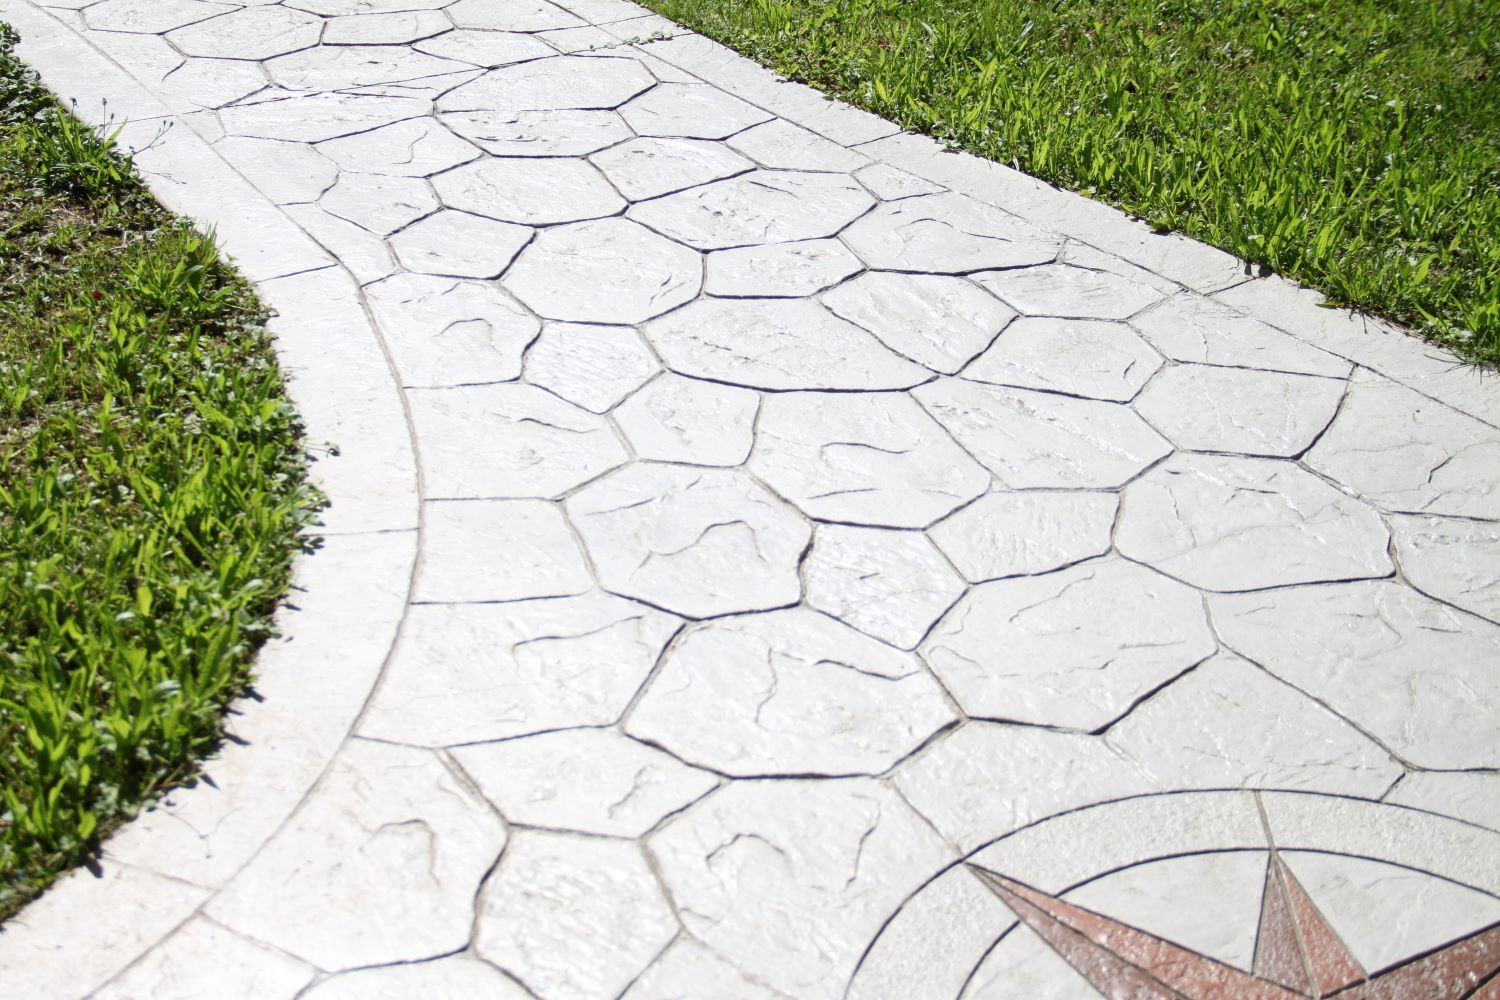
For a non-slip surface, consider adding a broom finish by dragging a broom lightly across the surface of the concrete after it has partially set. If you prefer a decorative finish, you can also stamp or texture the concrete at this stage.
7. Allow Proper Curing Time
Proper curing is critical for the strength and durability of your concrete patio. After finishing the surface, cover the patio with a plastic sheet or curing compound to retain moisture and prevent the concrete from drying too quickly.
Keep the concrete covered and moist for at least 7 days to ensure it cures evenly and reaches its full strength. Avoid walking on the patio for at least 24-48 hours, and wait at least a week before placing heavy furniture or equipment on it.
8. Seal the Concrete for Long-Lasting Protection
Once the concrete has fully cured, consider applying a sealer to protect the surface from stains, moisture, and wear. A high-quality concrete sealer will enhance the appearance of your patio, make it easier to clean, and extend its lifespan.
Choose a sealer that’s appropriate for your climate and the specific needs of your patio. For example, if your patio is exposed to harsh weather conditions, a penetrating sealer may offer the best protection.
Conclusion
Pouring a concrete patio is a project that requires careful planning, preparation, and attention to detail. By following these tips, you can create a beautiful, durable patio that will enhance your outdoor living space for years to come.
At Concrete Contractors St. Johns, we’re here to help with all your concrete needs, from patio installation to maintenance and repairs. Contact us today to learn more about our services and how we can help you achieve the perfect outdoor space.